


In this article we look at running Android on a Raspberry Pi, in particular we will look at Lineage and Android 8.1.0. We will look at another Android alternative in another article
Basic Requirements
- Raspberry Pi 3 Model B or Raspberry Pi 3 Model B+ single board computer and suitable Power supply
- The SD card should be a least 16GB
- An HDMI cable and some sort of screen, if you have a touchscreen that would be better but not a requirement
- USB mouse and keyboard
Download the android OS image
I use the Lineage OS which you can get from https://konstakang.com/devices/rpi3/, you first need to decide which version of Android you want. There is a choice of 4 different Android versions
- LineageOS 17.1 – KonstaKANG (Android 10)
- LineageOS 16.0 – KonstaKANG (Android 9)
- LineageOS 15.1 – KonstaKANG (Android 8.1.0)
- LineageOS 14.1 – KonstaKANG (Android 7.1.2)
I decided to select Android 8.1.0, you need to follow the links through and download the image.
It comes in at around 312mB, you will need to extract it using a tool like 7zip on Windows. It is GB when extracted.
Raspberry PI 4 is also supported now, again there are 4 versions available
- LineageOS 17.1 – KonstaKANG (Android 10)
- LineageOS 17.1 Android TV – KonstaKANG (Android 10)
- LineageOS 16.0 – KonstaKANG (Android 9)
- LineageOS 16.0 Android TV – KonstaKANG (Android 9)
Format the micro sd card
You may need to format the micro sd card
Insert your SD card into the slot on your computer if you have one or a card reader
Windows will now inform you that you need to format the disk. Click ‘Format Disk’. Next, you can choose the format which should be FAT32, file system, allocation unit size and volume label.
Windows will warn you that formatting will erase all previous data on the SD card. You want to do this so Choose ‘Ok’ to continue. The device will then be formatted.
Burning the image
In this example we will use Etcher but for Windows 10 you can use W32diskimager as it is a good solid option as well and equally as simple to use
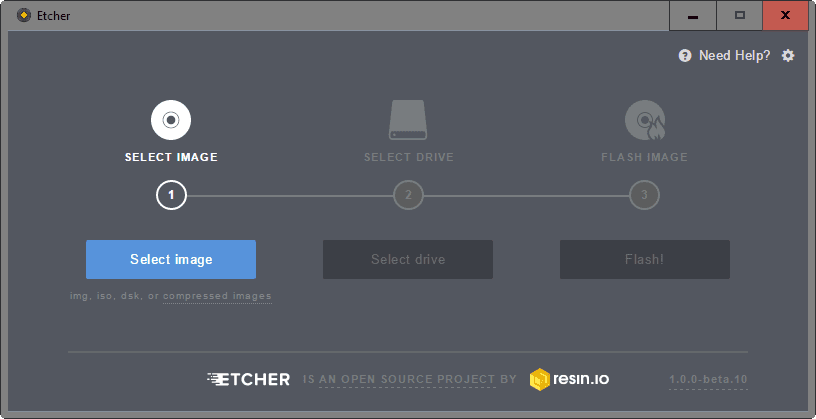
etcher
Run Etcher
Click on the select image option and select the unzipped lineage image file where you extracted it on your pc.
Click on the select drive option and select the SD card drive. Make sure you select the correct drive if you have multiple external drives connected to your PC.
Click on the flash image option and click on to write the lineage image to the SD card. This may take some time to complete.
You’ll see a progress bar. Once complete, the utility will automatically unmount the SD card so it’s safe to remove it from your computer.
Raspberry Pi steps
With no power applied to your Raspberry Pi you need to insert the Lineage OS flashed microSD card into your Raspberry Pi 3 micro sd card slot.
Connect a suitable HDMI cable of your monitor to your Raspberry Pi 3.
Connect a USB mouse and keyboard on your Raspberry Pi 3.
Now you are ready to power on your Raspberry Pi 3.
Lineage OS should boot and you should see the following loading window.
Lineage OS setup
Since the first run you will need to setup the operating system for firts time usage
- Select your language and click on NEXT.
- Select your time zone, date and time and click on NEXT.
- Configure your Wi-Fi network and click on NEXT.
- Select how you want the Location services of Android to work and click on NEXT.
- Select the Lineage OS related features that you want to enable and click on NEXT.
- You can set up a PIN to protect your phone from other people. If you don’t want to set up a PIN at this stage you can just click on SKIP.
- Finally, click on START.
The home screen of Lineage OS should appear and you are ready to begin your Android adventures