In a previous example we connected a Max7219 8×8 LED matrix display to our Raspberry Pi, you can also purchase a 7 segment display which uses the same ic.
Here is a typical module
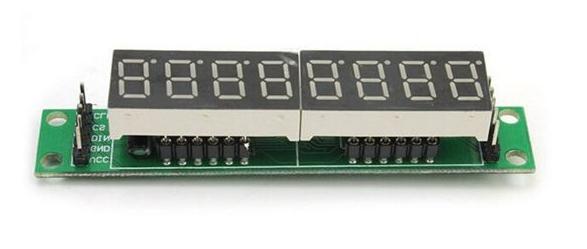
To make life easy there is a python module already available with a couple of examples. Open up a console window and type in the following
[codesyntax lang=”bash”]
git clone https://github.com/rm-hull/max7219.git
sudo python max7219/setup.py install
[/codesyntax]
You connect the module to you Raspberry Pi as follows, the Gnd (39) is for a Raspberry Pi 2. You can use another Gnd connection for another model.
| Pi GPIO header | Pin Number | 8×8 module |
|---|---|---|
| MOSI / GPIO 10 | 19 | DIN |
| SCLK / GPIO 11 | 23 | CLK |
| 5v | 2 | Vcc |
| GND | 39 | GND |
| CS0 / GPIO 8 | 24 | CS |
Create a file called test.py, I created this in the Examples folder of the max7219. Enter the following code using your favourite text editor
[codesyntax lang=”python”]
#!/usr/bin/env python

import max7219.led as led
import time

device = led.sevensegment(cascaded=1)
for x in range(1, 100):
    device.write_number(deviceId=0, value=x)
    time.sleep(0.05)
[/codesyntax]
Save and run the example by typing the following in at the command line
[codesyntax lang=”bash”]
sudo python max7219/examples/test.py
[/codesyntax]
Links
MAX7219 Red Module 8-Digit 7 Segment Digital LED Display
7 segment digit LED 8 bit digital display can be cascaded finished MAX7219 module