In this example we connect a PIR module up to our Raspberry PI, this is quite a simple module to connect as it requires only 5v, Gnd and the output is PI friendly so does not require any level shifting.
A passive infrared sensor (PIR sensor) is an electronic sensor that measures infrared (IR) light radiating from objects in its field of view. They are most often used in PIR-based motion detectors.
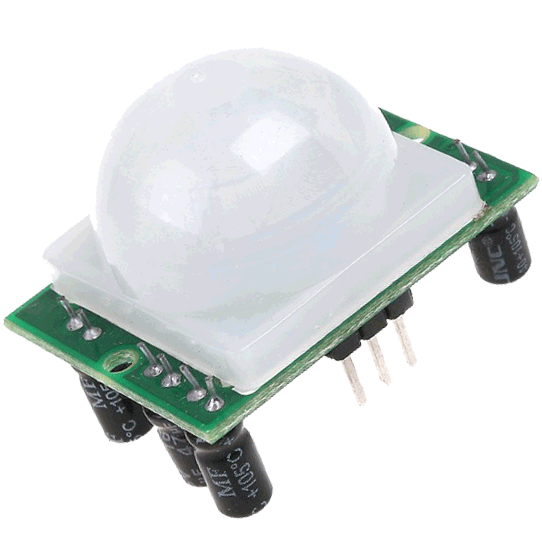
Here is a typical PIR which can be commonly found on the internet and is used in many projects. This is known as the HC-SR501 PIR MOTION DETECTOR
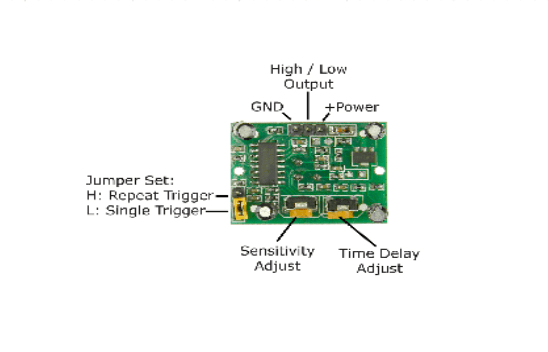
Interestingly the sensor can be adjusted using the 2 pots on it which you can see underneath
Adjust the distance potentiometer clockwise rotation, increased sensing distance (about 7 meters), on the contrary, the sensing distance decreases (about 3 meters).
Adjust the delay potentiometer clockwise rotation sensor the delay lengthened (300S), on the contrary, shorten the induction delay (5S).
Induction module needs a minute or so to initialize. During initializing time, it will output 0-3 times. One minute later it comes into standby.
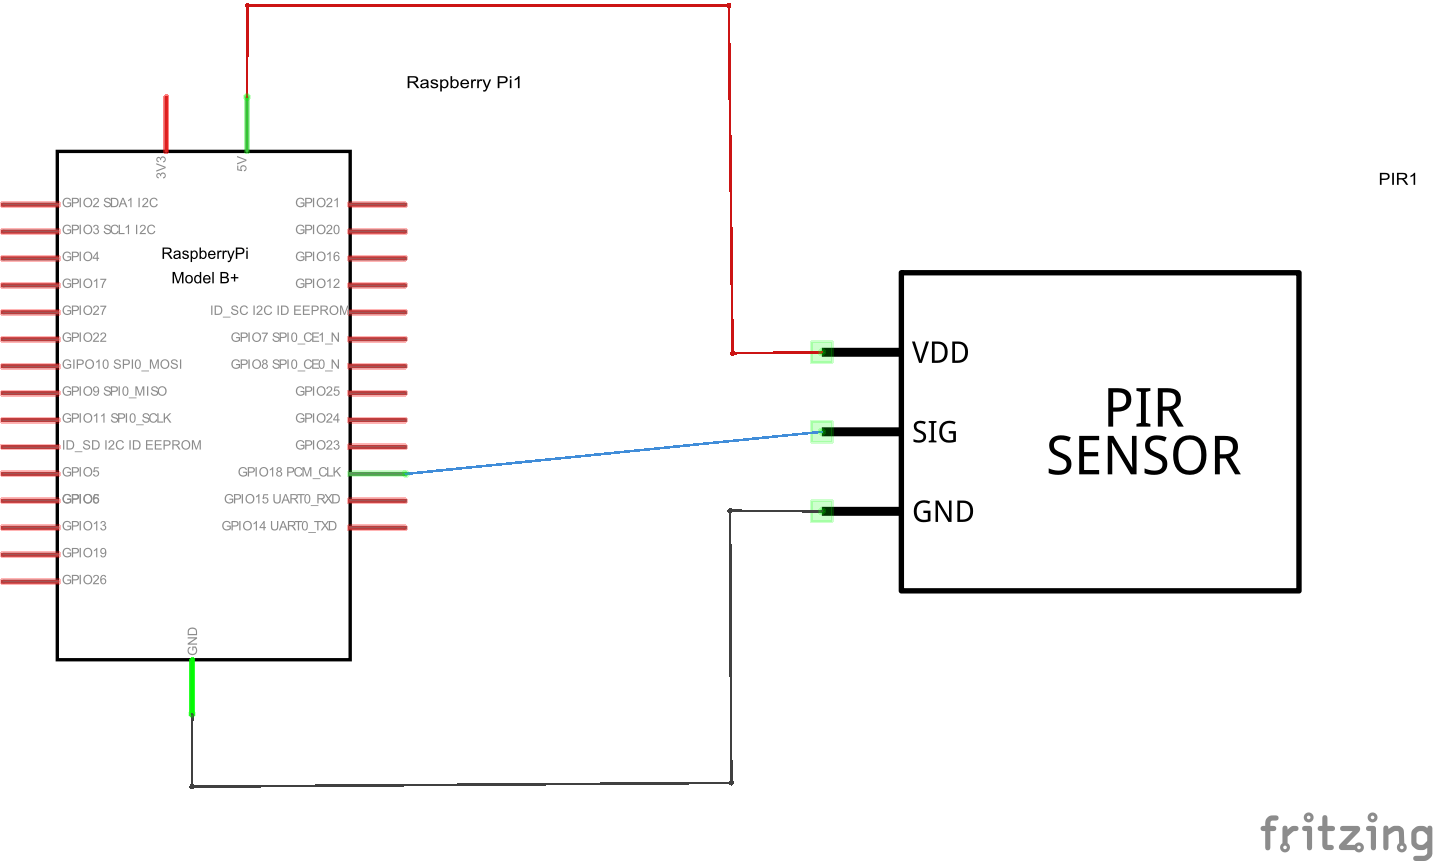
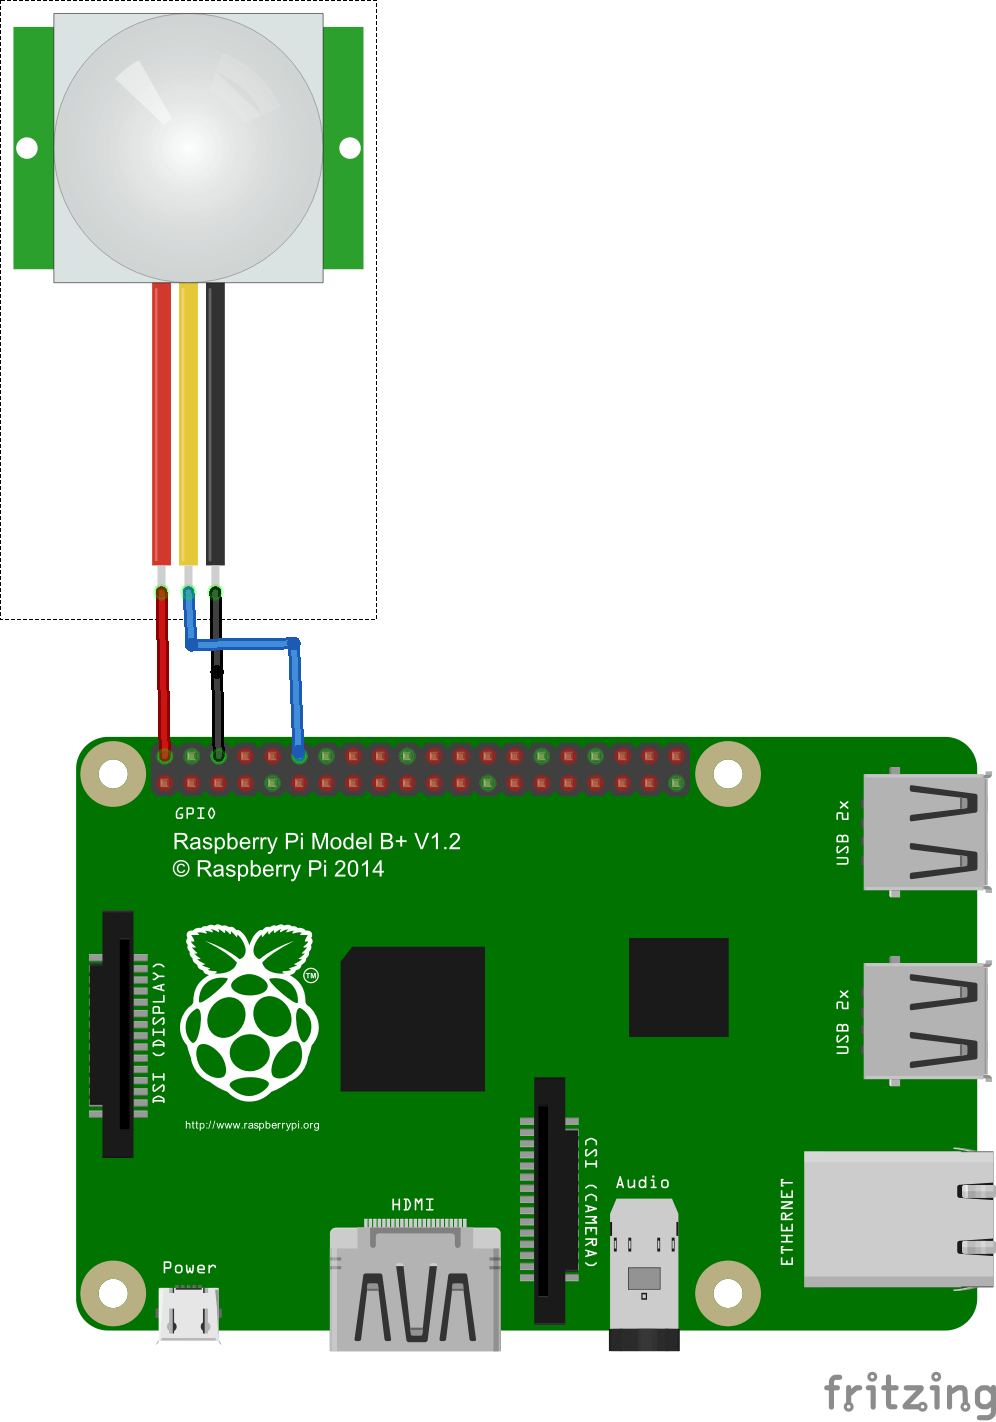
Schematic
Here is a schematic and layout drawn up using fritzing
Code
The code is written in python and requires the Rpi.GPIO library to be present. I called this pir.py
[codesyntax lang=”python”]
import time
import RPi.GPIO as io
io.setmode(io.BCM)

pir = 18

io.setup(pir, io.IN)         # activate input

while True:
	if io.input(pir):
		print("INTRUDER, INTRUDER, INTRUDER!")
	time.sleep(0.5)
[/codesyntax]
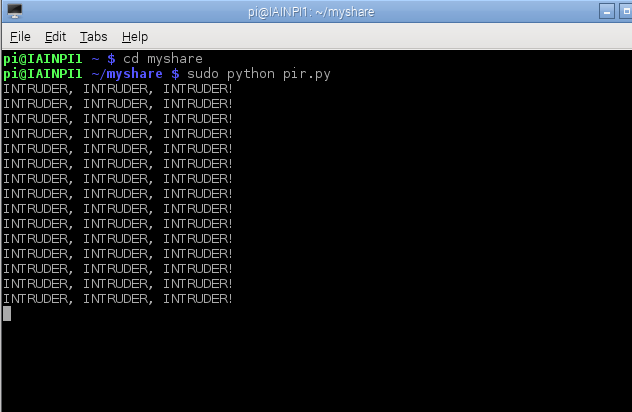
Run this by typing the following on the command line
[codesyntax lang=”bash”]
sudo python pir.py
[/codesyntax]
Here is the example running and you can see the sensor detecting me moving in front of it
Link
A low cost sensor that can easily be picked up for about $2 each
HC-SR501 Adjust IR Pyroelectric Infrared PIR Module Motion Detector Sensor